Well guys and girls since the weather is still not heating up for spraying, i'm forced take on another project and restore a so called bean trawler i picked up recently at a model exhibition.
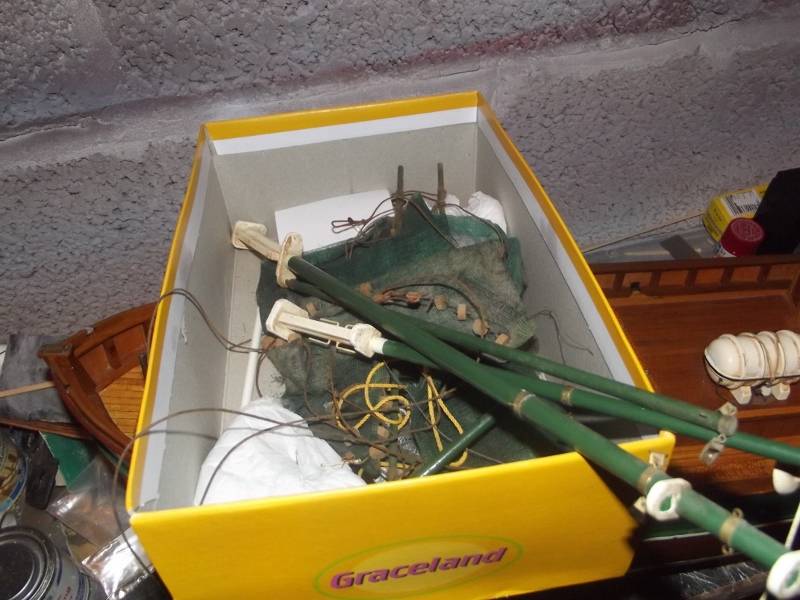
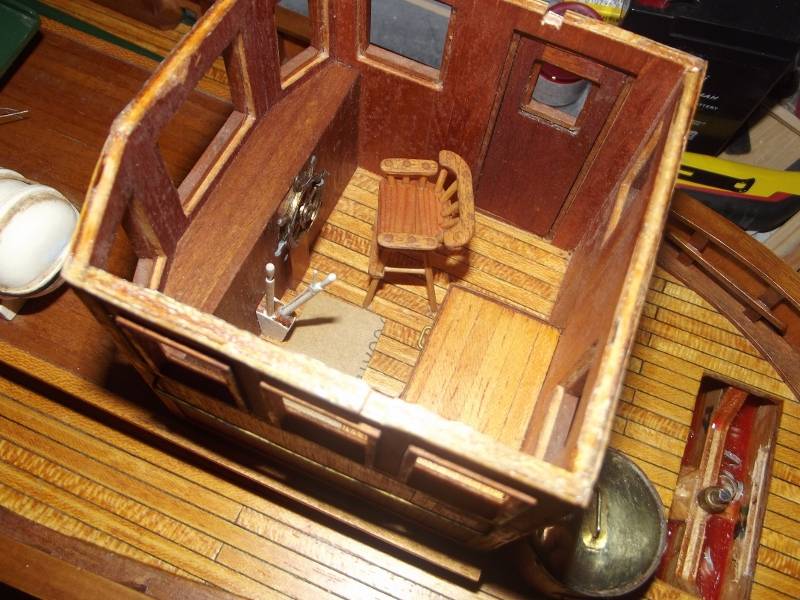
As to the actual trawler i was assured it is an older beam trawler, although it reminds me more of a ring netter, however the masts and booms are that of a beam so i'm going with that for now, the ordinal build isn't in that bad of state, the masts have been destroyed the wheelhouse needs a little bit of TLC, The state of the hull isn't in bad order, however it leaks like a sieve.
Overall this is a minor restoration, which will be to seal and repaint the hull, fix the masts and repair the wheel house and a few modifications of my own to allow the model to be used regularly.
First thing i did to the model when i got it home was detach all items that were basically hanging off, and give her a good scrub down with some hot water and washing up liquid, hard at it for 2 hours with a tooth brush to remove the years of stubborn dirt and grim that was attached, this is the end result of her look, not a bad little model.


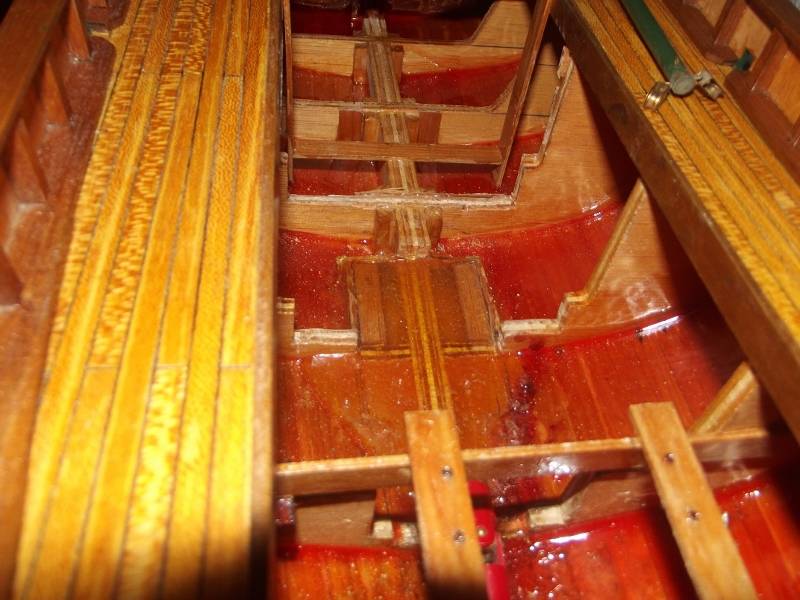
From there i have started work, First thing i did was sand down the inside of the hull with 600 grit to key the surface, add a coat of sanding sealer to the surface and then using some ''fastglas'' resin fill the hull to block all the gaps and reduce further plank movement, and basically water tight the hull.
using the simple method of mixing up smaller batches and pouring it between the bulkheads and using its own fluidness joggle it about the hull to give a nice coating.
She is now water tight and ready for hull work.
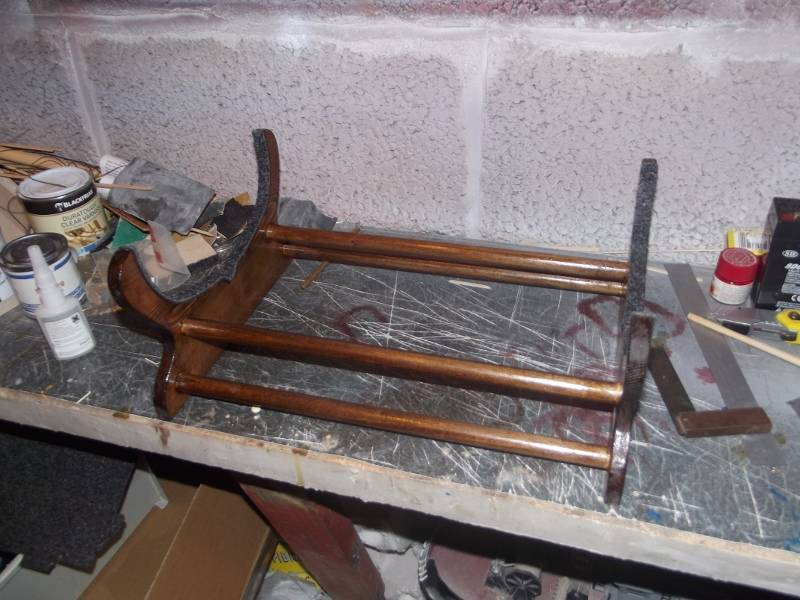
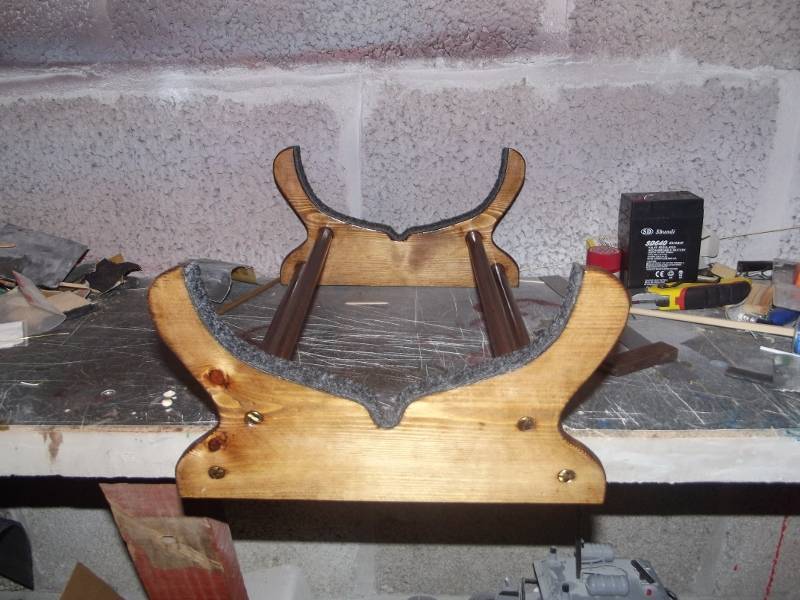
Before all other works starts on the project the hull needed a new stand as the one that came with her was basically a 4mm ply bit of crap and cut out to take a shallow V hull... that's not good for anything so with some flare a nice decorative stand was produced out of 10mm pine (skirting board) , stained and varnished.

My next job which I've completed today was to fix the wheel house roof, now since this models wheelhouse roof was already off, i have taken a shine to lighting up this model a little, especially since the wheel house is rather nicely decorated inside, be a shame to let that never be seen, so after drilling out the port and starboard light fittings on the wheel house roof and fitting 6v grain of wheat bulbs to the fittings.
I have also made up a fake roof plate which will sit on the underside of the original roof, this fake plate 'floats' which allows enough room for me to solder down some connecting plates for the lighting, this also enables me to replace bulbs each enough should they blow as i will attached the floating roof with some hot glue and the whole roof section will hook into a plate at the front end which I've yet to fabricated and a simple screw will hold it in place.
The wheel house light again is a 6V bulb but a red one, this will illuminated the cabin enough to see inside and also be the right light colour!
It started as some template card

Using some spare length of 4mm lime i planked the template card.
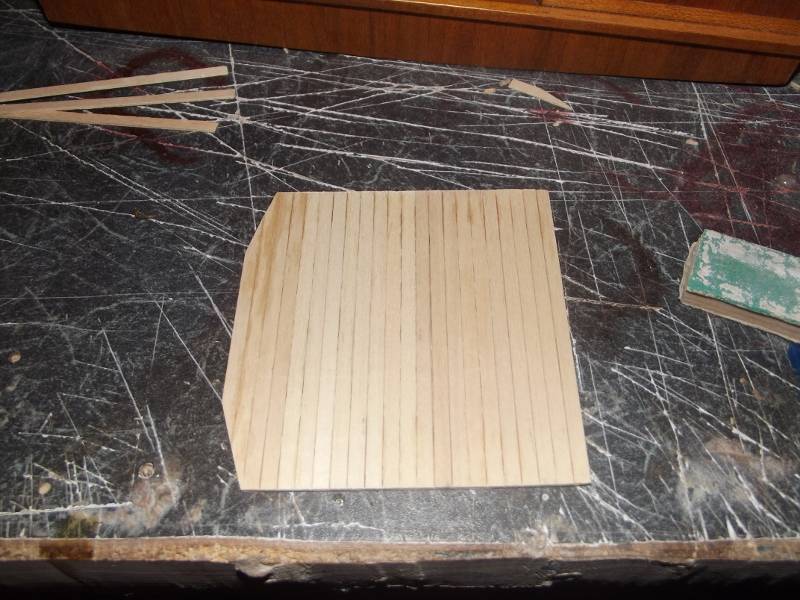
And then finished off with some of my 5mm mahogany around the edge's. the Light has yet to be drilled and fitted as i'm awaiting for the varnish to set but with this photo you can see how the 'float' fits and hides all the wires.

And that's all I've done in the past few days. this build fortunately has been originally enameled so i will be able to progress with this one no matter what the weather as i will only be keying the original surface to take a new coat or 2 of top coat.
RR
